 Aprilia SR50R - Service manual > Outer Structures
REMOVING THE SEAT
- Remove the central inspection cover.

- Slide out the split pin.
- Raise the seat.
- Remove pin.
- Remove the seat.
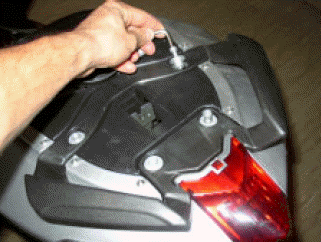
REMOVING THE PASSENGER GRAB HANDLE
- Raise the seat.
- Loosen and remove the four screws.
- Remove the passenger grab handle.
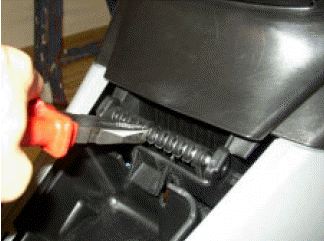
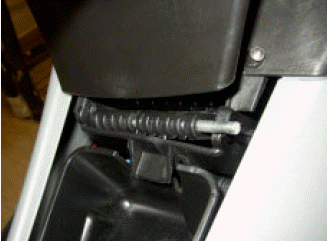
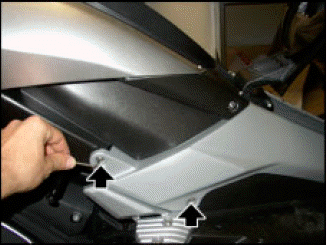
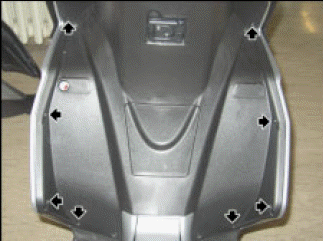
REMOVING THE TAIL GUARD
- Remove the passenger grab handle, see (REMOVING THE PASSENGER GRAB HANDLE).
- Working on either side, loosen and remove the two side screws.
- Loosen and remove the fourteen top screws.
- Loosen and remove the four rear screws.
- Loosen and remove the two lower screws.
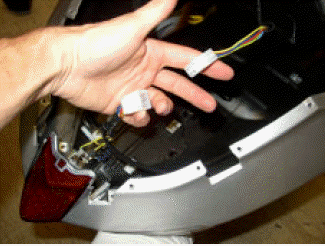
- Disconnect the tail light connector.
- Remove the tail guard together with the license plate holder.
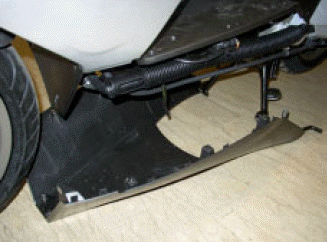
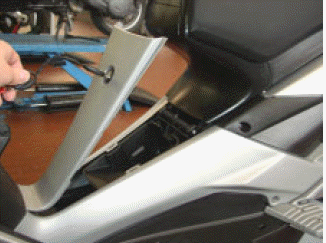
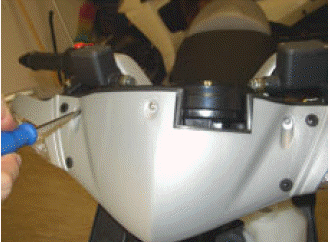
REMOVING THE LOWER SHIELD
- Loosen and remove the three front screws.
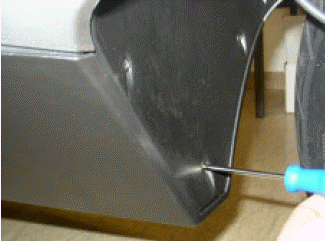
- Working on either side, loosen and remove the rear screw.
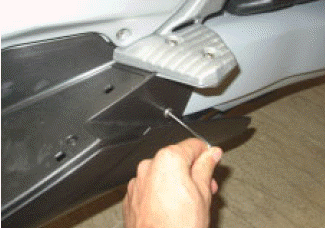
- Loosen and remove the three top screws.

- Remove the lower shield.
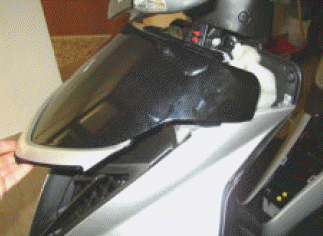
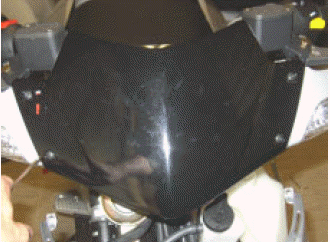
REMOVING THE FRONT COVER
- Loosen and remove the two outer screws.
- Lift the front cover just enough to release it.
- Remove the front cover.
CAUTION To easily remove the cover, raise it from the right first, then from the left.
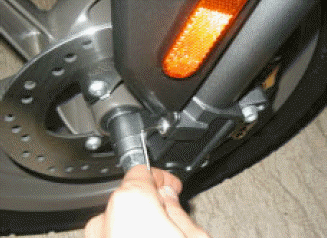
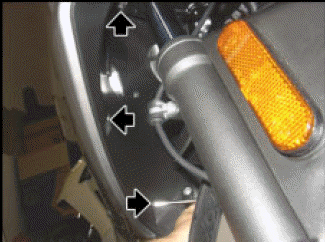
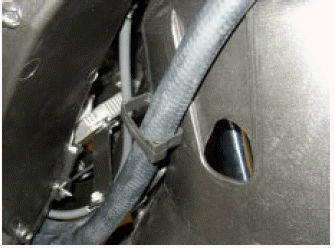
REMOVING THE FRONT MUDGUARD
- Working on the right side, loosen and remove the odometer cord cable guide screw.
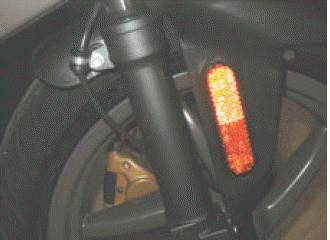
- Loosen and remove the mudguard front right screw.
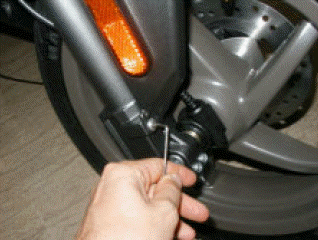
- Working on the left side, loosen and remove the brake line cable guide screw.
- Loosen and remove the mudguard front left screw.
- Remove the front mudguard.
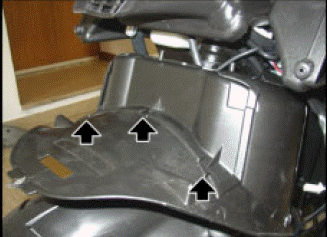
REMOVING THE REAR MUDGUARD
- Remove the air box, see (REMOVING THE AIR BOX).
- Working on the left side, loosen and remove the screw.
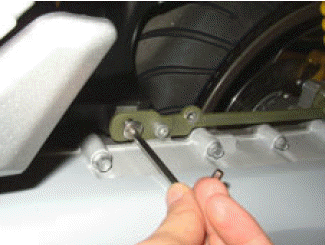
- Working on the right side, loosen and remove the screw, collect the washer and the spacer.
- Remove the rear mudguard.
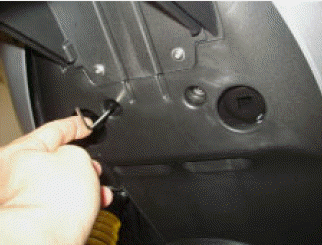
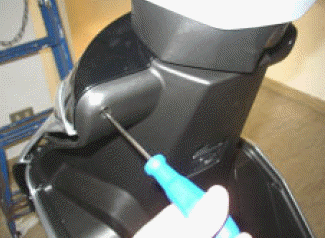
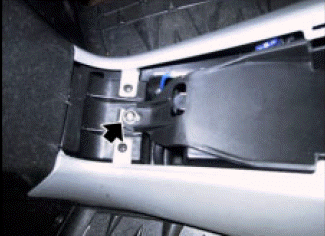
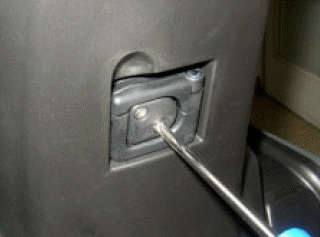
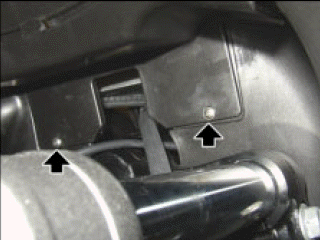
REMOVING THE TOOL KIT COMPARTMENT
- Lift and remove the tool kit compartment cover.
- Loosen and remove the screw.
- Remove the tool kit compartment.
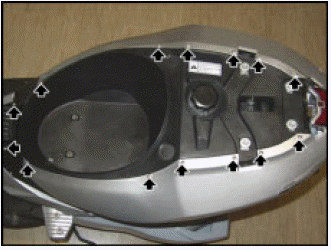
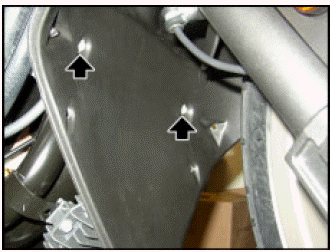
REMOVING THE INNER SHIELD
- Remove the front cover, see (REMOVING THE FRONT COVER).
- Loosen and remove the two screws.
- Loosen and remove the ten screws.
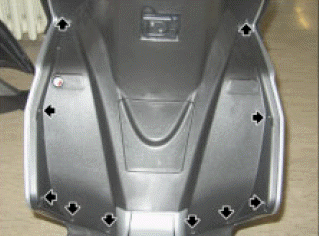
- Loosen and remove the two screws of the bag hook.
- Remove the bag hook.
- Loosen and remove the screw below the bag hook.

- Remove the rubber element from the ignition switch/steering lock.
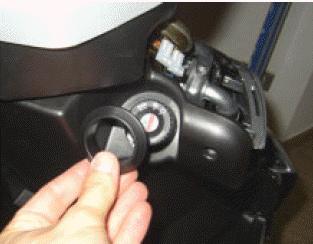
- Slightly raise the inner shield and slide it out of its tabs.
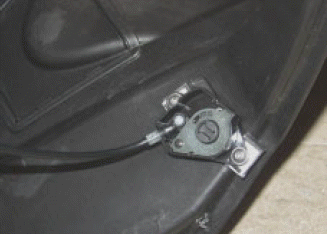
- Loosen and remove the two screws securing the seat lock.
- Remove the inner shield.
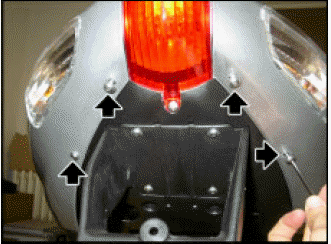
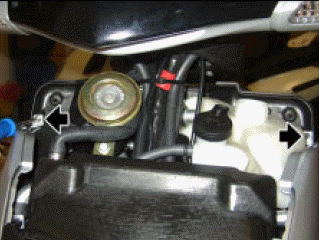
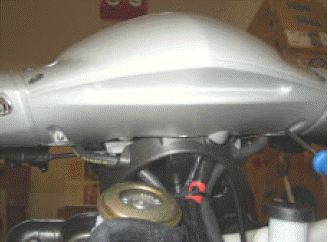
REMOVING THE HEADLIGHT
- Remove the front cover, see (REMOVING THE FRONT COVER).
- Loosen and remove the two screws.
- Loosen and remove the eight screws.
- Working on either side, loosen and remove the three inner screws.
- Loosen and remove the central screw.

- Move the headlight with the two side fairings forward.
- Disconnect the two headlight connectors.
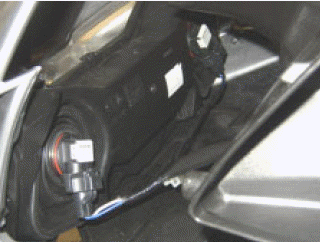
- Remove the headlight with the two side fairings.
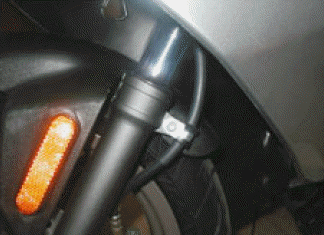
REMOVING THE FRONT WHEELHOUSE
- Remove the headlight, see (REMOVING THE HEADLIGHT).
- Remove the front wheel, see (REMOVING THE FRONT WHEEL).
- Remove the front mudguard, see (REMOVING THE FRONT MUDGUARD).
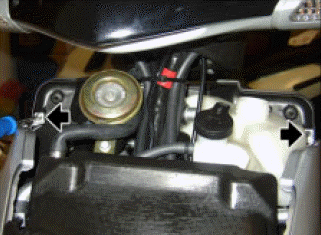
- Loosen and remove the two front screws.
- Release the tie and the two cooling system hoses.
- Loosen and remove the two inner screws.
- Release the two wheelhouse shells and slide them out of the fork.
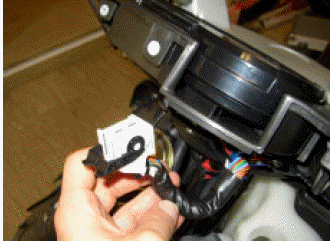
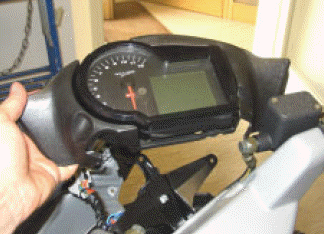
REMOVING THE INSTRUMENT PANEL
- Loosen and remove the four front screws.
- Remove the headlight fairing.
- Loosen and remove the three top screws.
- Loosen and remove the two lower screws.
- Release the handlebar fairing, move it down and keep it connected to the turn indicator wirings.
- Disconnect the instrument panel connector.
WARNING During reassembly, ensure to perfectly align the connector with the instrument panel, to avoid damaging the instrument panel pins.
- Loosen and remove the three screws of the instrument panel subframe.
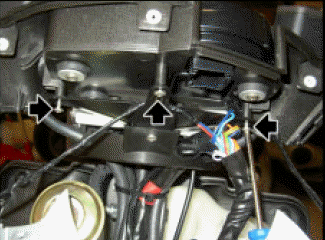
- Remove the instrument panel.
Exhaust System
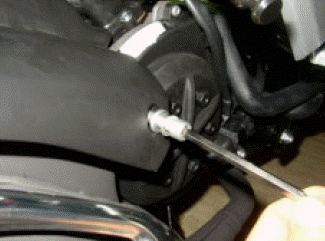
REMOVING THE EXHAUST SYSTEM IE361 C364
- Remove the lower shield, see (REMOVING THE LOWER SHIELD).
- Loosen and remove the two studs on the stud bolts.
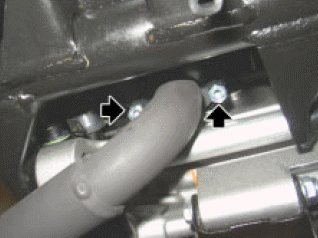
- Working on the right side, loosen and remove the two screws, collect the washers and the spacers.
- Remove the exhaust system.
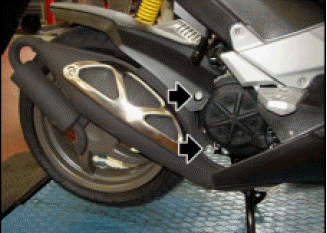
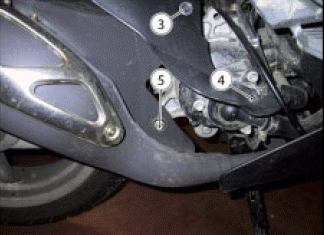
REMOVING THE EXHAUST SYSTEM IE50
- Loosen and remove the screw (1).
- Loosen and remove the screw (2).
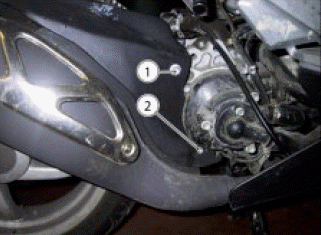
- Loosen and remove the screw (3) securing the silencer to the engine.
- Loosen and remove the screw (4) securing the mudguard to the engine.
- Raise the mudguard.
- Loosen and remove the screw (5) securing the silencer to the engine.
- Remove the silencer.
See also:
 Aprilia SR50R - Service manual > Front Wheel
FRONT WHEEL DIAGRAM Key: Front wheel rim; Bearing; Inner spacer; Left spacer; Wheel shaft; Tubeless valve; Brake disc; Brake disc screws; Tire; Drive; Drive seal; Odometer drive fitting; Washer; Nut.
 BMW R 1250 RT
 Kymco Agility 50
 Piaggio Liberty 50
 Yamaha aerox NS50
 Aprilia SR50R
 Kymco Agility 50
 Vespa Primavera 50
 Peugeot Speedfight